DIY: Alice’s Tea Cup Candles

Alice's Tea Cup Candles

Alice’s Tea Cup Candles

It’s February and I am on a crafting kick, fueled by inspiration from a few special occasions coming up this month.

My recent project is transforming vintage inspired tea cups into candles. The tea cup is the ultimate dainty, feminine and whimsical accessory. Whether you choose to use it for tea time or as a decoration, who doesn’t love a cute cup and candle?

My sister gave me my first miniature Barbie tea set when I was really young, and I was stoked. The little set was legit and made me feel like such a lady. And then my fascination with tea time was born!

Below is the most similar image I could find that resembles my first tea set:

Screen Shot 2014-02-06 at 1.32.29 PM{Photo Courtesy of The Find}

What’s great about this DIY idea is that while the candle burns, it actually looks like a cup of tea and once the candle is done, you can clean out the soy wax and re-use the cup for real tea (or to hold jewelry, candies, flowers)! It’s also a fairly easy process and can be inexpensive if you shop around for the materials and are clever with items you already own.

The cute factor is sky-high and they make sweet, thoughtful gifts for a housewarming, birthday, party favors and even Valentine’s Day.

Bright Idea: As a gift, I would pair the tea cup candle with a tin of tea or tea cakes and macarons.

Another inspiration comes from my birthday a few years back, when I planned a grown-up Alice in Wonderland theme (including libations served in tea cups). I would have loved to have made tea cup candles for all my guests!

Screen Shot 2014-02-06 at 1.58.47 PMGwen-Stefani-9tumblr_m144neOsV11qb68o8o1_500

Tick Tock, Tick Tock…It’s Tea Party Time!

I purchased the main materials (soy wax, wicks and fragrance) from Michaels (approximately $15.00). I picked up a few tea cups from HomeGoods (average price $8.00 per cup and saucer) and I also recommend checking out your local thrift store or ask friends and family members if they have any tea cups they can part with to help lower cost.

I prefer soy wax as it tends to burn cleaner and longer than regular wax. I suppose you could try to repurpose chunks of left over wax or melts, but I would suggest that you stick to one fragrance or make sure the fragrances you combine will complement one another and that the colors will not clash.

Since this was my first attempt, I decided to go ahead and buy wax at the store with a 40% off one item coupon instead of ordering online. Going forward, I recommend checking online to buy these items in bulk and for a better deal. Trust me, one pound of soy wax was just enough to fill three tea cups. If you decide to do try this project with young ones, please make sure to monitor them and the stove!

What you will need:

  • Tea cups of all variety (the more the merrier and a tea party you will certainly have!) *Make sure the cup can withstand a heat range of 120° to 160°.
  • At least one pound of Soy candle wax (or any type of wax you prefer) *You will need to use more wax than you think.
  • Waxed wicks *Make sure to measure the depth of your cups, bowls or containers and use a wick at least one inch taller.
  • Fragrance/Scent (optional)
  • Wax Dye (optional)

To Melt the Wax:

  • Double boiler (optional) *I will show you how I used a tin can and metal milk frothing jug.
  • Old saucepan with spout (optional) * If you choose to use an old pan, make sure you are okay with dedicating this for candle making only as wax can damage the sauce pan. You can probably purchase an old one at a thrift store for minimal cost.
  • Candy thermometer (optional)
  • Pair of tongs with rubber/silicon grip
  • Heat resistant glove
  • Hot glue gun and glue stick to adhere wick to bottom of cup

What I had at home instead of a double boiler or a pan I could “damage”:

How to make a Tea Cup Candle:

First, you will need to clean and dry the cup.

Use the hot glue or a temporary adhesive to allow the tab of the wick to stay in place.

Fill the saucepan about half way with water and begin to boil. Once you achieve a strong boil, you are ready.

I had to experiment with the amount of wax to place into the tin can. I learned quickly that you will need to double, if not triple the volume of wax as it will melt to about 2/3 the original volume.

I did not have a candy thermometer handy, so I used my best judgment on the status of melted wax. If you do have a candy thermometer, pay attention to the heating instructions on the soy wax. Soy wax tends to be softer so the melting point could range from 122° to 160°. The wax I purchased was microwavable, but I chose to use my stove top.

I used a saucepan and 14.5 oz clean green bean tin can to create a double boiler effect. The double boiler essentially uses the heat from the boiling water to heat the wax in a separate container (not all waxes can or should be melted in a microwave), and this is the quickest way to melt the wax.

Once the wax begins to melt, use a disposable chopstick to stir the wax. Once the wax is completley melted in the tin can, change the heat setting to low and allow the wax to cool slightly (about 30 seconds). Once the wax has cooled you can add dye or fragrance if desired (read the instructions for each).

I used the chopstick again to mix in the fragrance into the wax. I used my tongs to grab the middle of the tin, squeezed it tight and carefully poured it into the milk frothing jug.

Moving somewhat quickly, I used the milk frothing jug to transfer the wax into the cup. Pour enough so the wax reaches about half an inch from the rim. I placed another chopstick across the cup to prop up the wick to keep it straight.

Allow cups to cool undisturbed for at least 4-6 hours before burning.

Cut the wick to about 1/4 of an inch and enjoy!

This slideshow requires JavaScript.

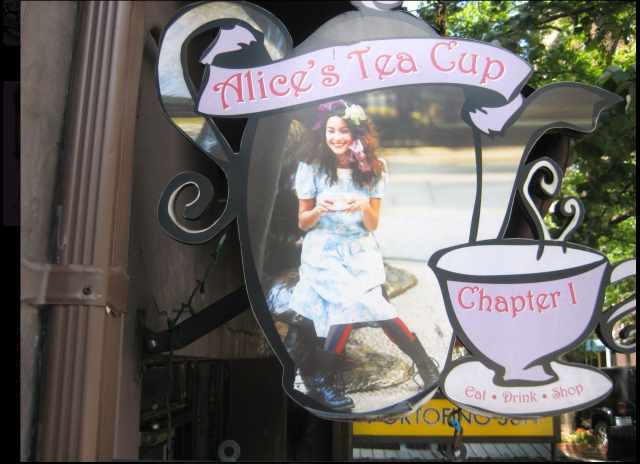
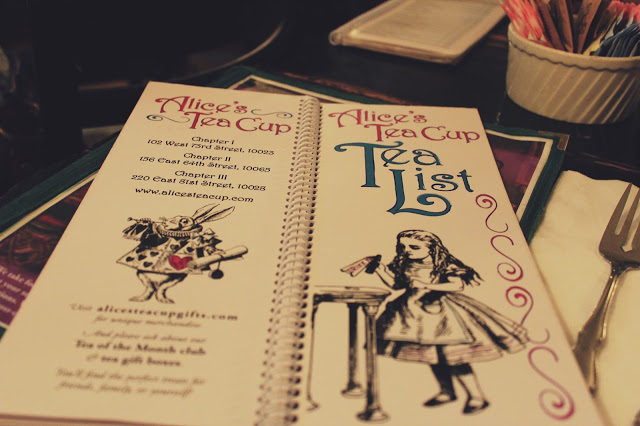
I cannot wait to include one of these beauties as part of a tea party themed bridal shower this weekend! If you are in New York, you might be familiar with the lovely brunch spot, Alice’s Tea Cup (there are a few locations, each one a “chapter”).

This is the perfect venue to indulge in tea time and exchange your personalized tea cup candles!

Screen Shot 2014-02-07 at 9.31.26 PM_MG_3314

{Click on the photos above for the original links}

XOXO Liz

Mod Podge & Glitter Mason Jars

2014-02-02 12.19.00-1

What am I doing this Super Bowl weekend? Mod Podging, of course!

In particular, I am dressing mason jars in gold glitter. I love the simple, rustic look of a mason jar and I appreciate how functional they are. This type of jar has been around since the 1800s and can be used to store food, homemade sauces and preserves, used as a cup to drink from, candle holder, pen holder, money jar–the possibilities are endless.

I recommend having a few small and large jars in the pantry just in case. You can buy them or you can repurpose pasta sauce and jam jars.

For this project I purchased a few of the classic Kerr and Ball jars from Michaels. They were fairly inexpensive (about $1.49 for small clear Kerr to $2.49 for large clear Kerr jar and $15.00 for a box of six antique blue-tinted Ball jars) and the best part of shopping at Michaels is you rarely have to pay full price.

If you sign up for their email sales circular or download their free app, you will receive at least one %40 off one regular item coupon (among others) every week. Sometimes they include coupons on your receipt–so make sure to check your receipt before you file to toss it! Essentially there is no need to pay full price at Michaels.

Michaels Coupon

If you do not have a Michaels or local craft/kitchen supply store, check online and you can probably find a good deal there.

Okay, so I am new to Mod Podge, the amazing water-base glue and sealant. This stuff is not Elmer’s glue, folks, although it is easy for young people to use as well. I’ve heard of it but never thought I would need it until I saw pictures of beautiful, shimmery glittered jars. I immediately bought myself some jars and a bottle of Gloss finish Mod Podge and got to work.

Now I am hooked!

I didn’t know where to start, so my sister sent me a link to this incredible Mod Podging Pro: Mod Podge Rocks Blog. This blog is filled to the brim with tips, tutorials and DIY inspiration. You can also check out Pinterest and YouTube for some great guides.

Below are some tips on how you can Mod Podge and glitter your jars (cups, bowls, picture frames or whatever you want!). These make precious center pieces and gifts, too!

Proceed with caution: This DIY project is messy, sparkly and addictive!

What You Will Need:

  • 1 bottle of Gloss finish Mod Podge
  • 1 medium and 1 small sponge brush (regular paint brush is optional, although it might be easier to re-use and dispose sponges)
  • Glitter (I used fine gold glitter from Martha Stewart Crafts)
  • Painter’s tape if you want to create lines or angles
  • Any item that could use some sparkle
  • Old newspaper or magazine to catch excess glitter and rest wet brushes

Whether you are adding glitter to the inside or outside of the jar, first apply a generous, even layer of the Mod Podge.  If you are adding glitter to the inside, you can pour some Mod Podge first, rotate the jar to spread it and then use the sponge brush to smooth it out.

You can also try dampening the sponge tip for a smoother application.

Once you have added the Mod Podge to the desired area, tap plenty of glitter all over and rotate or move the jar side to side to ensure glitter comes in contact with the glue. You do not need to tap off the excess glitter unless you want a very light coat.

One thing to note is a thin layer of Mod Podge can dry fairly quickly, so try to work at a faster pace if you are covering a large area in one application. Otherwise, you can glue and glitter one area first and then finish the rest at another time.

Let the glue dry, as directed in the instructions. Once the glue has dried, you can apply another top coat of Mod Podge to work as a sealant.

2014-01-31 18.08.502014-01-31 18.10.192014-01-31 18.13.402014-01-31 18.16.172014-01-31 18.16.532014-01-31 18.17.542014-01-31 18.24.352014-02-01 08.59.572014-02-01 09.02.372014-02-01 08.48.592014-02-01 08.49.342014-02-01 08.50.382014-02-01 08.55.002014-02-01 08.56.012014-02-01 08.58.382014-02-01 09.04.112014-02-01 09.07.592014-02-01 09.08.202014-02-01 09.08.432014-02-01 19.17.532014-02-01 14.46.222014-02-02 12.19.54

XOXO Liz

Sneak Peek: Birthday in a Box

2013-08-30 17.56.42

My mom’s birthday is tomorrow, but she lives more than 2,000 miles away. Sending her a present is standard, but what if I could send her a whole birthday party in one box?

Well, it is now possible to send anyone, anywhere their own Birthday, Party or Celebration in a Box!

This idea comes from my sister, who is also the creator of Cherry Blossom Tree Designs (CBTD). CBTD specializes in handmade paper goods to celebrate every occasion~from personalized invitations, greeting cards, banners to cake toppers, treat bags and so much more.

My sister couldn’t come to NY for my birthday last month, so she created my very own Birthday in a Box. I was beyond thrilled to find this miniature box of joy and wanted to share this with you!

Starting next week she will be adding this one-of-a-kind box service so you can spread the joy as well (pricing and shipping details will be available soon).

Website: http://www.cherryblossomtreedesigns.com/

Shop: http://www.etsy.com/shop/cherryblossomtrees

Each box can be personalized with a theme and you can select different kinds of treats based on the occasion and person for whom you are curating a box. The boxes are small enough to decorate someone’s office, cubicle, locker, car, coffee table, vanity–basically anywhere a mini party can be displayed!

Here’s what my first Birthday in a Box included (prepared to have a cute-attack!):

Keepsake Box

Personalized Card

Mini Cupcake Magnet

Pink Polka Dot Balloons

Mini ‘Happy Birthday’ Banner

Gold Glitter Clothespin Magnets (to hang your banner high!)

On-the-Go Confetti Pack

2013-08-30 17.45.17{She also gave my a beautiful Ted Baker watch and a mustachioed Hello Kitty tin!}

2013-08-30 17.46.592013-08-30 17.52.002013-08-30 17.54.572013-08-30 17.48.38 2013-08-30 17.49.012013-08-30 17.49.372013-08-30 17.50.102013-08-30 17.51.362013-08-30 17.52.552013-08-30 17.53.322013-08-30 17.51.042013-08-30 17.51.252013-08-30 17.51.422013-08-30 17.54.22

2013-08-30 17.55.52

You can’t deny how cute and clever this idea is and there is a box for any reason and special person (congratulations, best wishes, get well soon, I miss you, care package, farewell, good luck, thank you, thinking of you, happy anniversary, will you marry me, will you be my bridesmaid, baby shower, bachelorette party, party favors, employee or teacher appreciation, Valentine’s Day, Mother’s Day, Father’s Day, Halloween, Thanksgiving, Christmas, Chanukah, Happy New Year, and etc.).

Just one week until you can celebrate and commemorate one box at a time…here’s how:

Screen Shot 2013-09-22 at 1.33.28 PM

Screen Shot 2013-09-22 at 1.37.15 PM

Happy Bday CBTD

XOXO Liz Signature